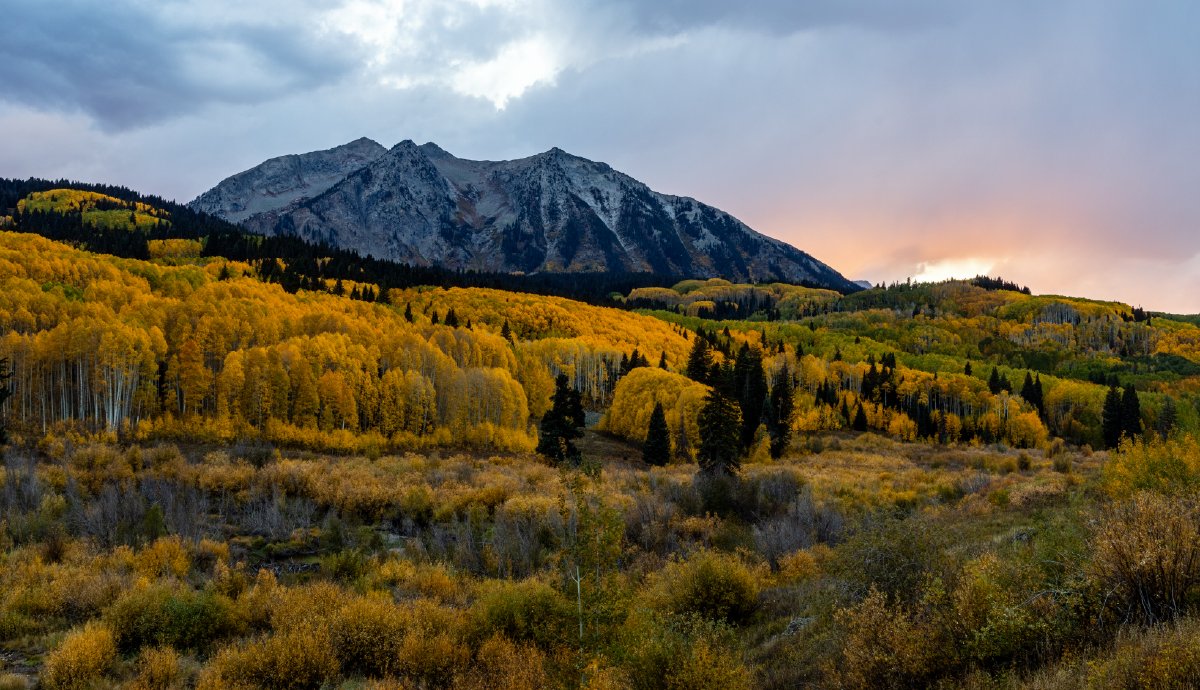
diting is a crucial step in creating stunning landscape photographs. Adobe Lightroom and Photoshop are powerful tools that can help bring out the best in your images. I have developed my own workflow and style, so editing has become a simple process for me. After time, you should be able to create your own process. Here are some tips to guide you through the process of editing landscape photos using these programs.
Adobe Lightroom
Lightroom is a great starting point for landscape photo editing due to its non-destructive editing capabilities and efficient workflow.
Editing landscape photos with Adobe Lightroom and Photoshop can transform your images from good to breathtaking.
Here are some key steps to follow:
1. Import and Organize
Lightroom has very powerful categorizing capabilities for your photographs. Begin by importing your photos into Lightroom. Organize them using collections and keywords to make it easier to find and manage your images.
2. Basic Adjustments
Start with the Basic panel to make initial adjustments:
- Exposure: Adjust the overall brightness of your photo.
- Contrast: Increase contrast to add depth and dimension.
- Highlights and Shadows: Recover details in bright and dark areas.
- Whites and Blacks: Set the white and black points for a balanced tonal range.
- Clarity: Enhance midtone contrast to add texture.
- Vibrance and Saturation: Boost colors without overdoing it.
3. Tone Curve
Use the Tone Curve to fine-tune contrast and adjust specific tonal ranges. The Point Curve allows for precise control over highlights, midtones, and shadows.
4. HSL/Color Panel
Adjust the Hue, Saturation, and Luminance of individual colors to achieve the desired look. This is particularly useful for enhancing skies, foliage, and other colorful elements in your landscape photos.
5. Detail Panel
Sharpen your image and reduce noise:
- Sharpening: Increase the sharpness of your photo without introducing artifacts.
- Noise Reduction: Reduce luminance and color noise, especially if you shot at a high ISO.
6. Lens Corrections
Enable profile corrections to correct lens distortions, vignetting, and chromatic aberrations.
7. Graduated and Radial Filters
Use graduated filters to adjust exposure, contrast, and color in specific parts of your image, such as the sky or foreground. Radial filters are great for highlighting specific areas or creating a vignette effect.
8. Brush Tool
The Adjustment Brush allows for selective edits. Use it to enhance specific areas, such as brightening a foreground element or adding contrast to the sky.
Adobe Photoshop
Photoshop is perfect for more detailed and complex edits that go beyond Lightroom’s capabilities. Here are some tips for using Photoshop in landscape photography:
1. Open in Photoshop
After making basic adjustments in Lightroom, right-click your photo and select “Edit In > Adobe Photoshop” to open the image in Photoshop for further editing.
2. Layer Adjustments
Use adjustment layers for non-destructive editing. Common adjustments include:
- Curves: For precise control over brightness and contrast.
- Levels: To adjust the overall tonal range.
- Color Balance: For fine-tuning color tones.
3. Dodging and Burning
Use the Dodge and Burn tools to selectively lighten or darken areas, adding depth and dimension to your photo. Create a new layer set to “Overlay” and fill it with 50% gray for a non-destructive dodge and burn effect.
4. Blending Modes
Experiment with different blending modes to achieve creative effects. For example, using the “Soft Light” or “Overlay” modes can enhance contrast and color.
5. Content-Aware Fill
If you need to remove unwanted objects, use the Content-Aware Fill tool. Select the object, go to Edit > Content-Aware Fill, and let Photoshop intelligently fill the area.
6. Panorama Stitching
For panoramic landscapes, use Photoshop’s Photomerge feature. Go to File > Automate > Photomerge, select your images, and Photoshop will stitch them together seamlessly.
7. Focus Stacking
To achieve maximum depth of field, especially in macro landscapes, use focus stacking. Take multiple shots with different focus points, and use Photoshop to blend them. Go to File > Scripts > Load Files into Stack, and then select Edit > Auto-Blend Layers.
8. Final Touches
Add final touches like vignettes, sharpening, and noise reduction. Use the Camera Raw filter (Filter > Camera Raw Filter) for additional fine-tuning similar to Lightroom.
Conclusion
Editing landscape photos with Adobe Lightroom and Photoshop can transform your images from good to breathtaking. By mastering the tools and techniques in these programs, you can enhance the beauty of your landscapes and create stunning visual stories. So, dive in, experiment, and let your creativity flow!
Annie Lazo
I am a landscape photographer who finds joy in capturing the natural beauty of this world. From the magical mountains of the East Coast to the majestic peaks of the American West, I seek to share these breathtaking vistas with as many people as possible. I also enjoy photographing waterfalls, wildlife, and plant life.


